Hooray for more upgrades that do nothing for trail-worthiness!

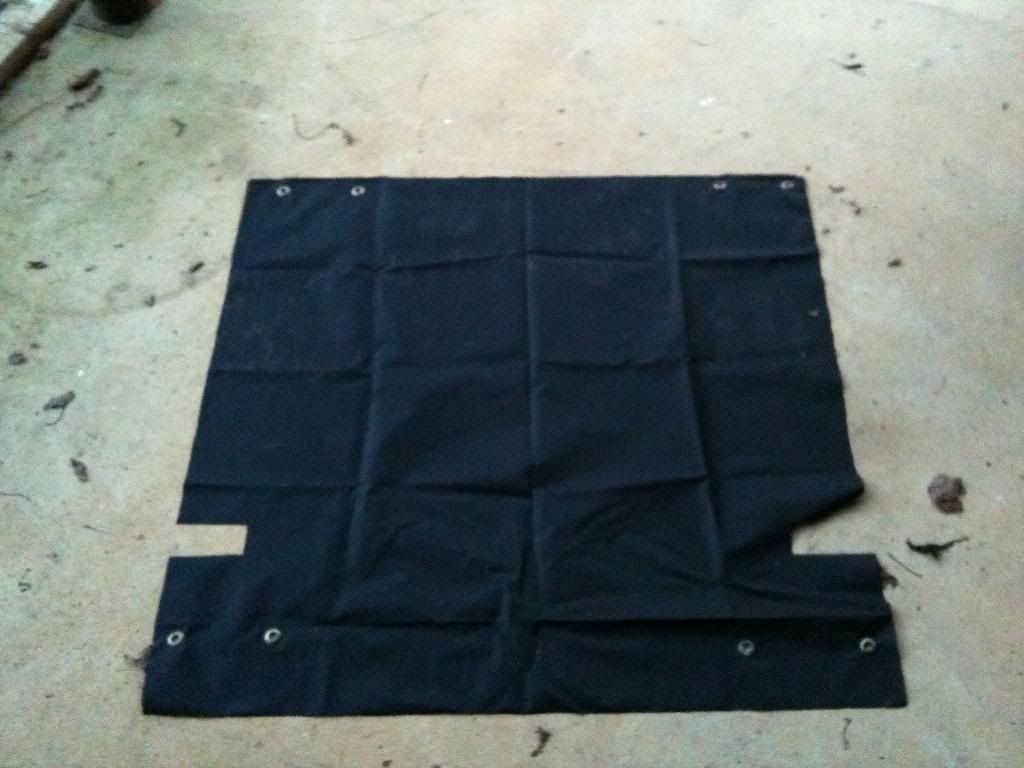
Since getting my rip-stop nylon in, I've been quite busy, so today I finally got to work and started measuring and cutting. After a TON of dry fitting, I finally cut some small holes, and put some grommets in.
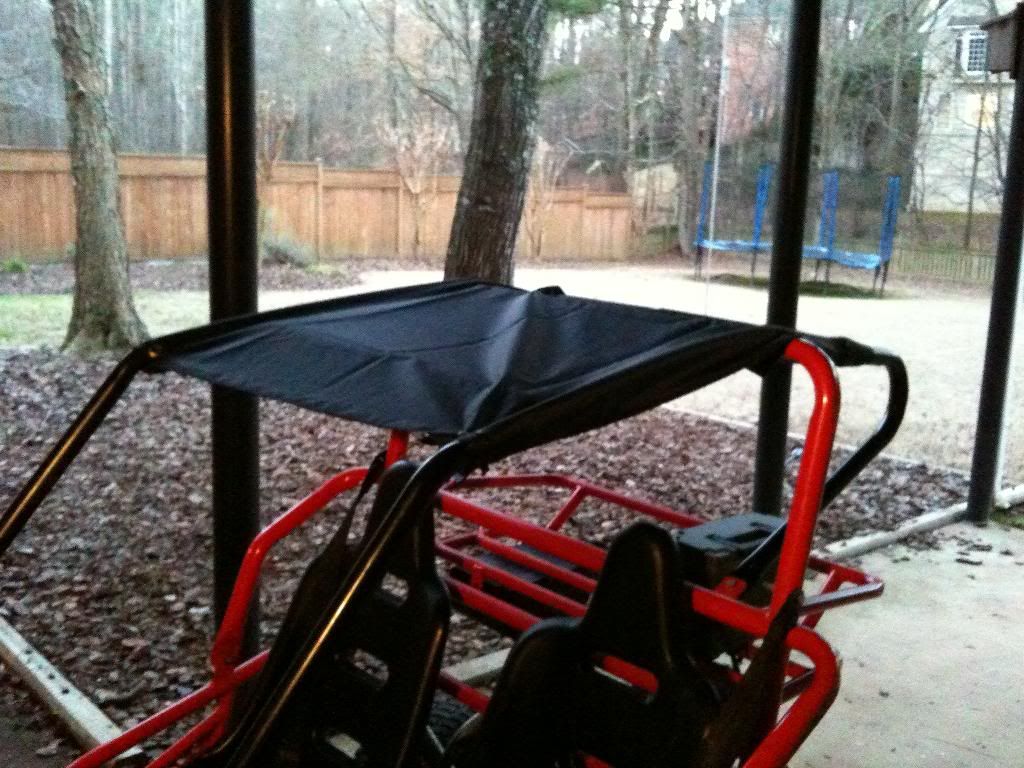
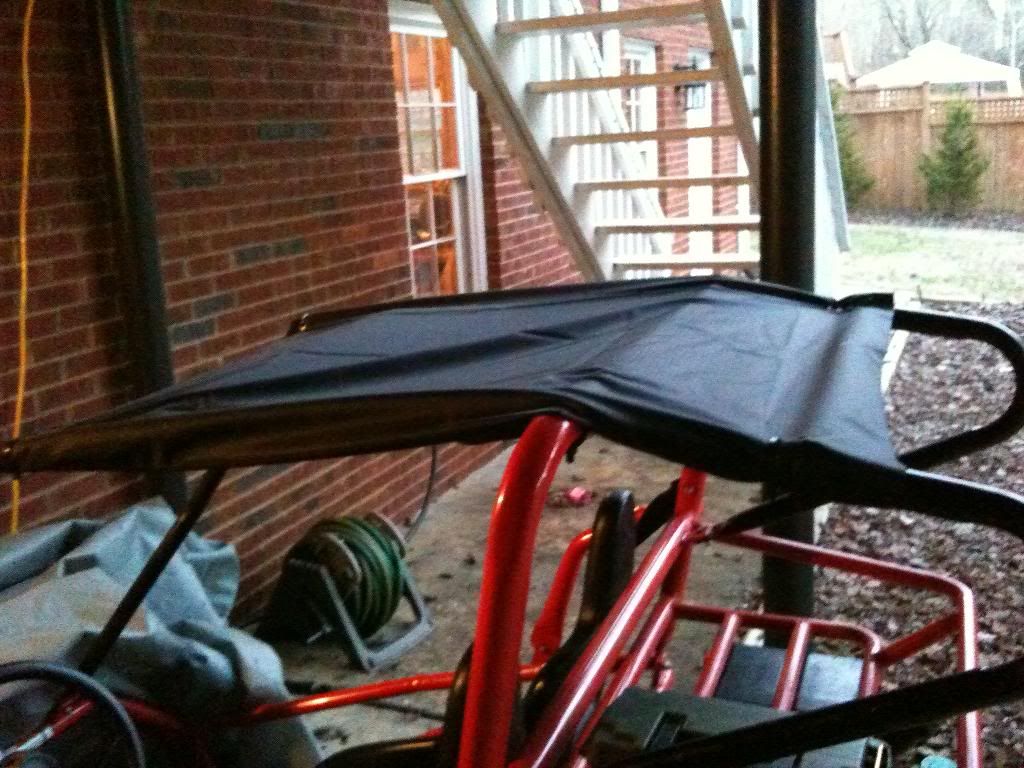
After a little bit of finagling, I got it zip tied to the roll cage.
I also mounted my ammo/battery box (
link) on the rear rack. Oddly enough, I never took a pic of the ENTIRE setup and how it looks, but I have pics of small details (plus you can catch a few glimpses of it in the other pics).
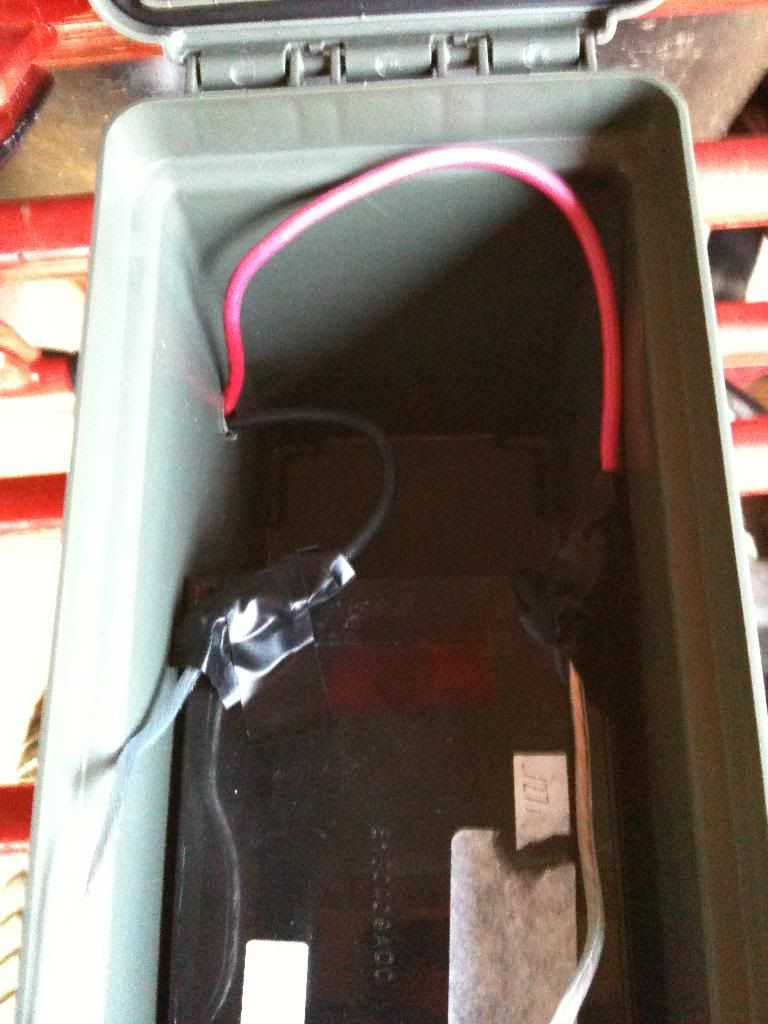
Here it is with the battery in place with the connections all wired up (lol only 4 wires).
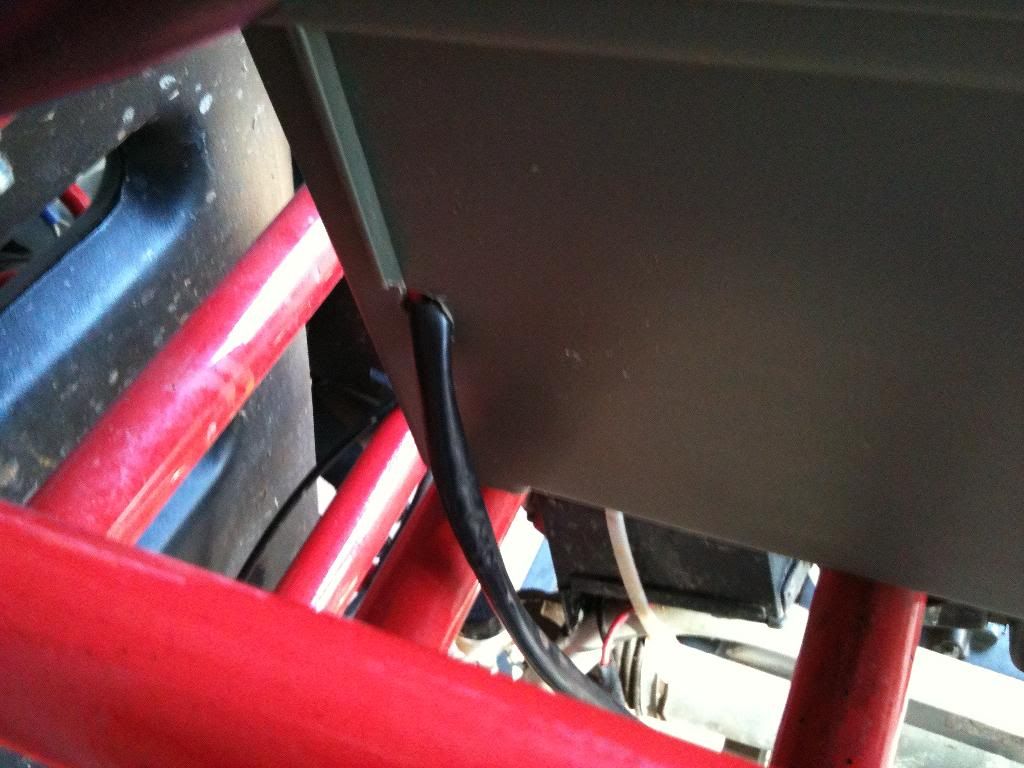
Hole drilled for the wires to enter/leave
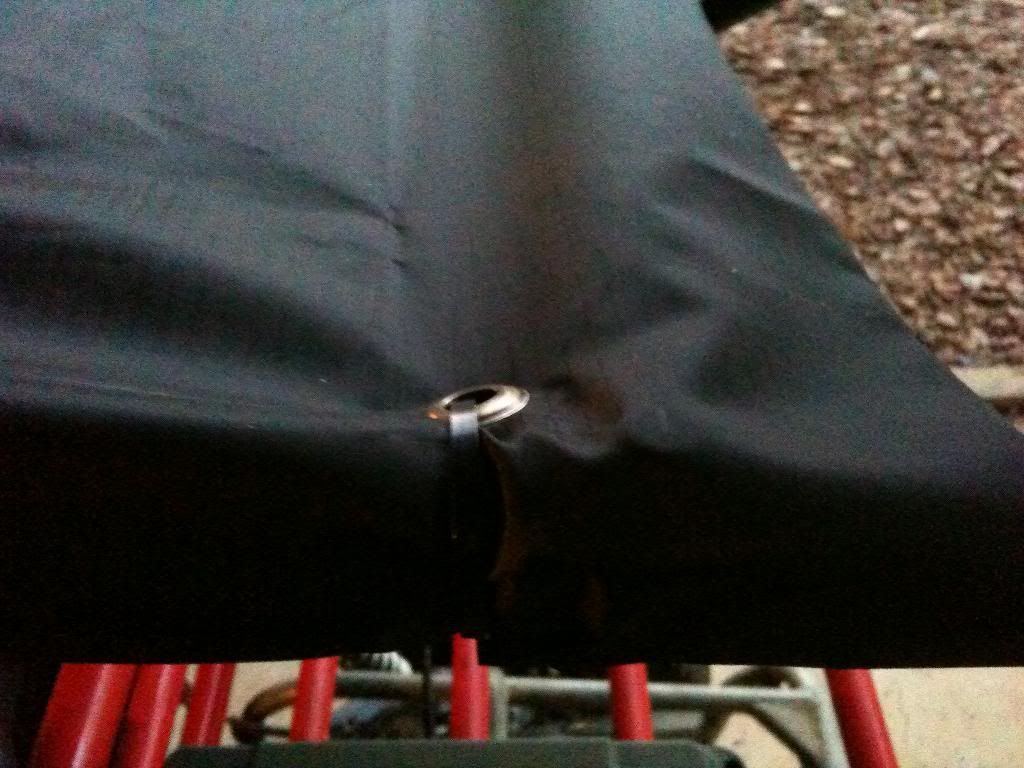
Here is how I mounted it (6 holes and 3 zip ties. Can you tell that I like zip ties?

So there you have it! Up next will probably be the ball joints and/or the steering rack. Until then, it seems, I must stick with the small, free projects that points2shop funds me for (I was gonna link my thread about points2shop, but it seems BM deleted it

)